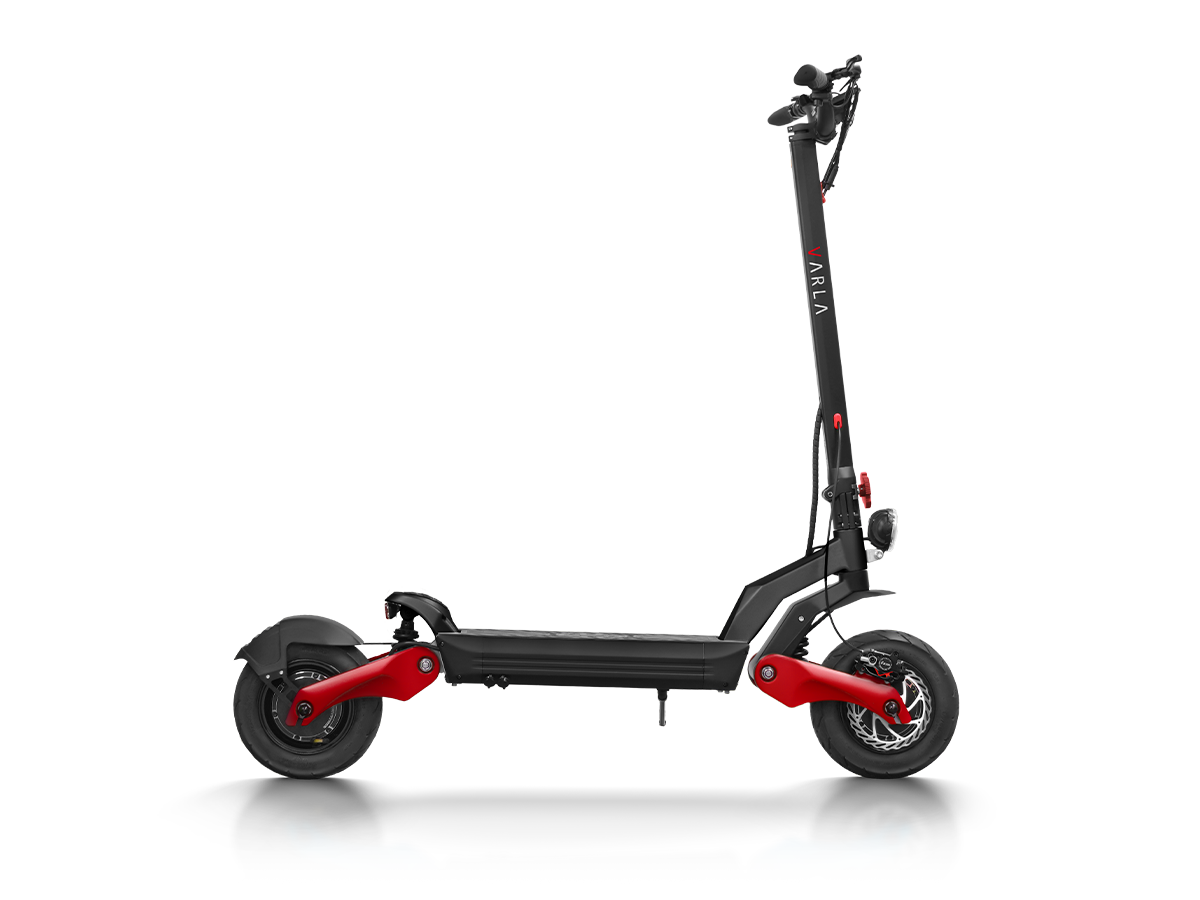
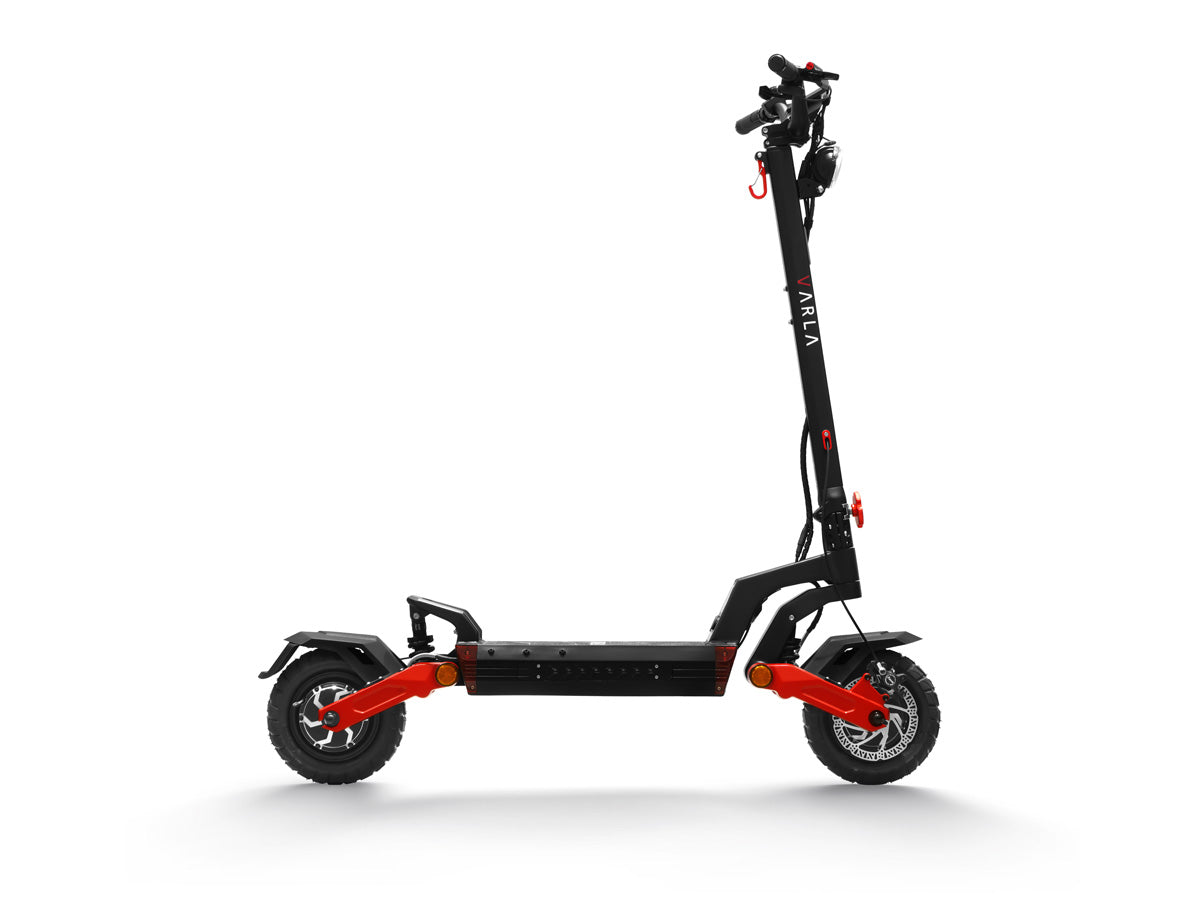
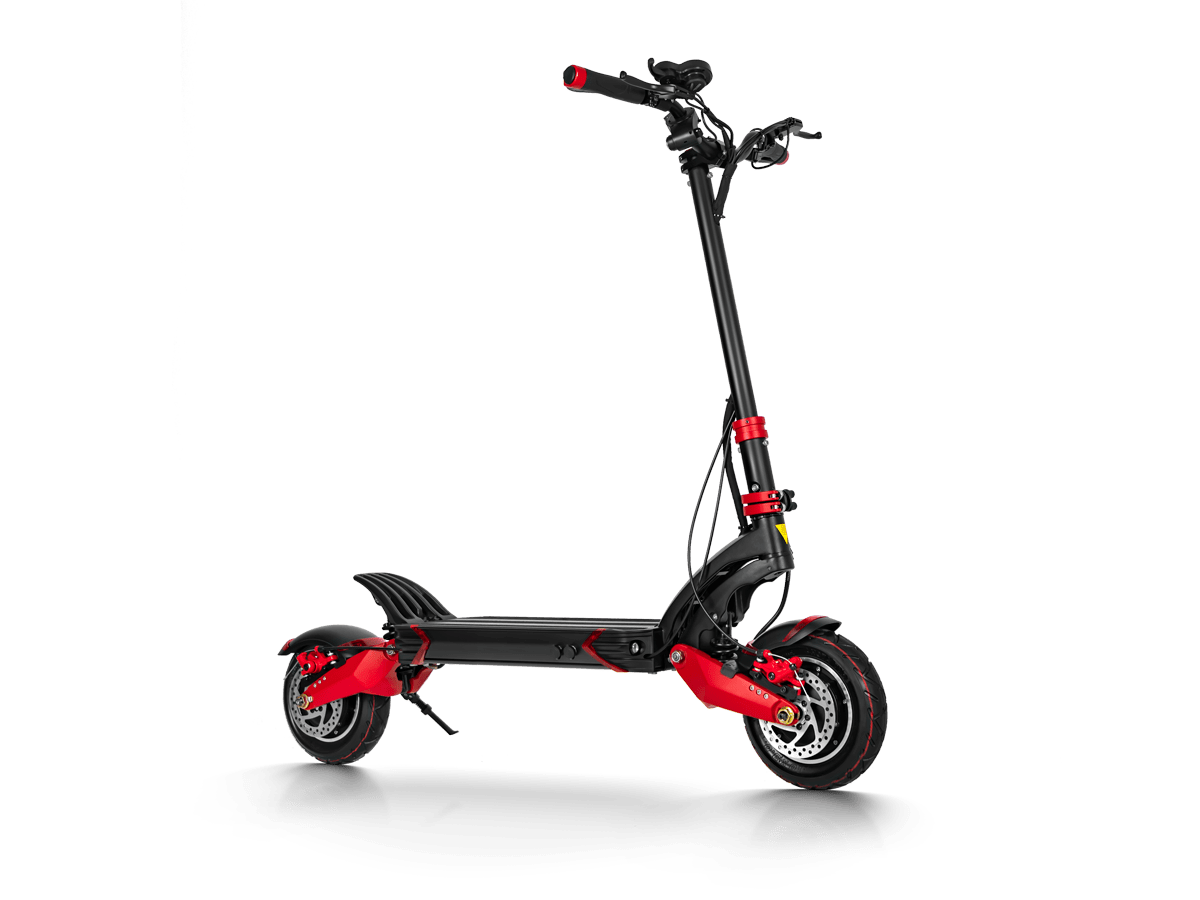
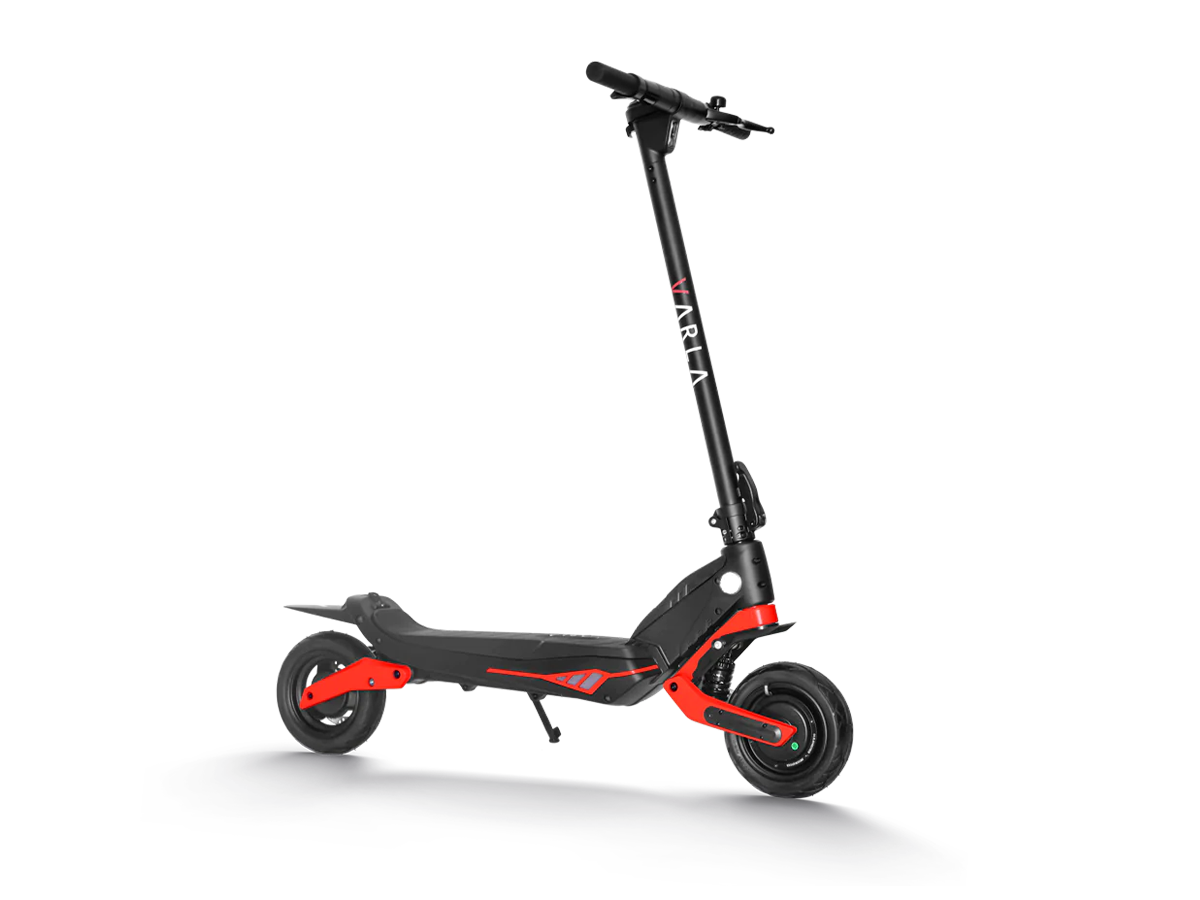
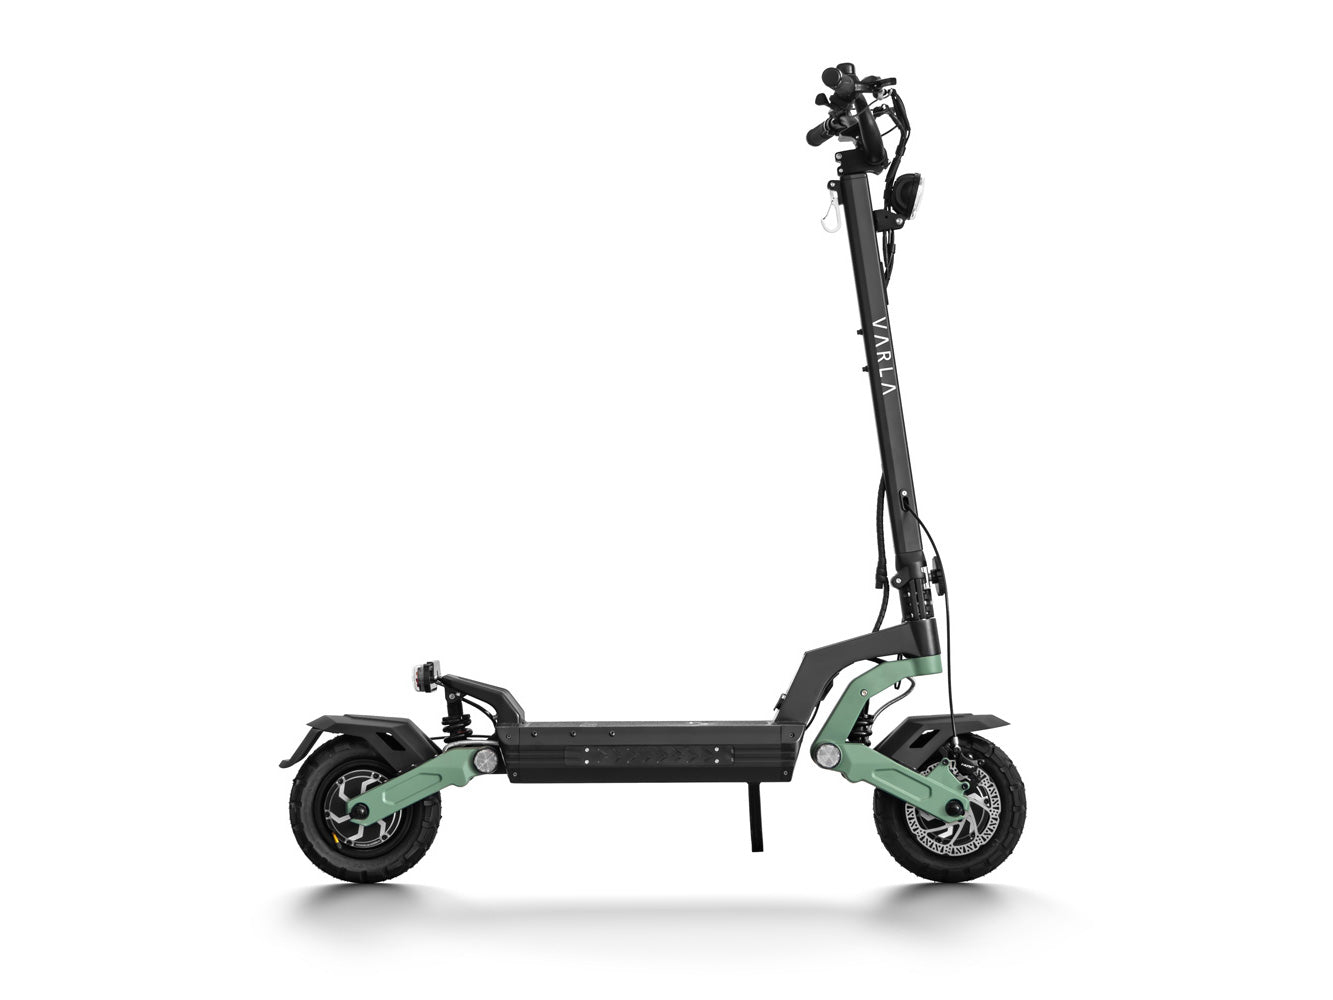
Varla Eagle One Unboxing
The first thing you need to do is cut the belt and open the box. It contains an assembly tool, charger, 4 motor screw caps, and Varla Eagle One.
PART. 1 ASSEMBLY
STEP 1
Unlock the clamp, lift up the main rod, and lock the clamp. Please make sure the safety lock slips down the bottom and the clamp is in the proper position.

STEP 2
Install the handlebar, remove the four screws from the stem ensuring that the alignment markings on the handlebars are centered and the handlebars are adjusted to a comfortable position. Last, tighten the screws with the tool.

STEP 3
Adjust the LCD display, brake, bell, and Single/Dual motor switch to a comfortable position, then tighten the screws with the tool.

STEP 4
Take out the key, insert it into the keyhole.

STEP 5
The last step, cover the motor screw caps to protect them.

Now, your Varla Eagle one scooter is fully assembled!
PART. 2 HOW TO USE
Let’s see how to use it.

- Turn the key to the right and press the switch button for 3 seconds to turn on the LCD display.
- When the power is on, press the “Mode” button to change the gear from 1 to 3.
- Long press the “Mode” button, the front light will be on.

- Pull the brake and the front & rear braking lights will light up.

- Press the switch to change single or dual drive.

- When you charge the scooter, connect the cable and the charging hole first, then plug in the socket power. Varla Eagle One has 2 charging ports, you can use them at the same time and save half of charing time.
Now, believe you have known how to use it.
Before you ride, please read the owner’s Manual. It contains important details related to safety and maintenance. It will help you a lot!
Share Article
Newletter
Promotions, new products and sales. Directly to your inbox.
