 Skip to content


How to Change to Hydraulic Brakes on An Electric Scooter?
Brakes are unequivocally the most critical safety feature on any vehicle, including electric scooters. They provide the necessary control to manage the scooter's speed, navigate traffic, and respond to unexpected obstacles or emergencies.
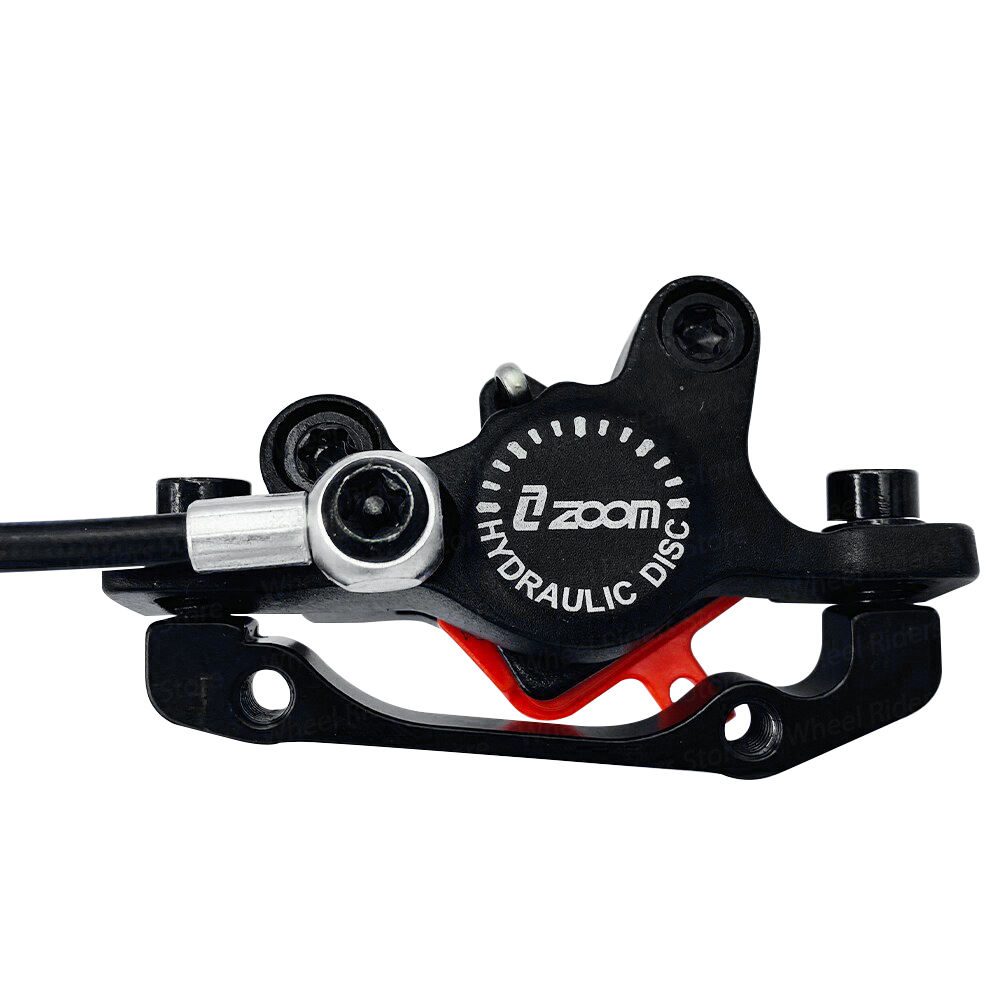
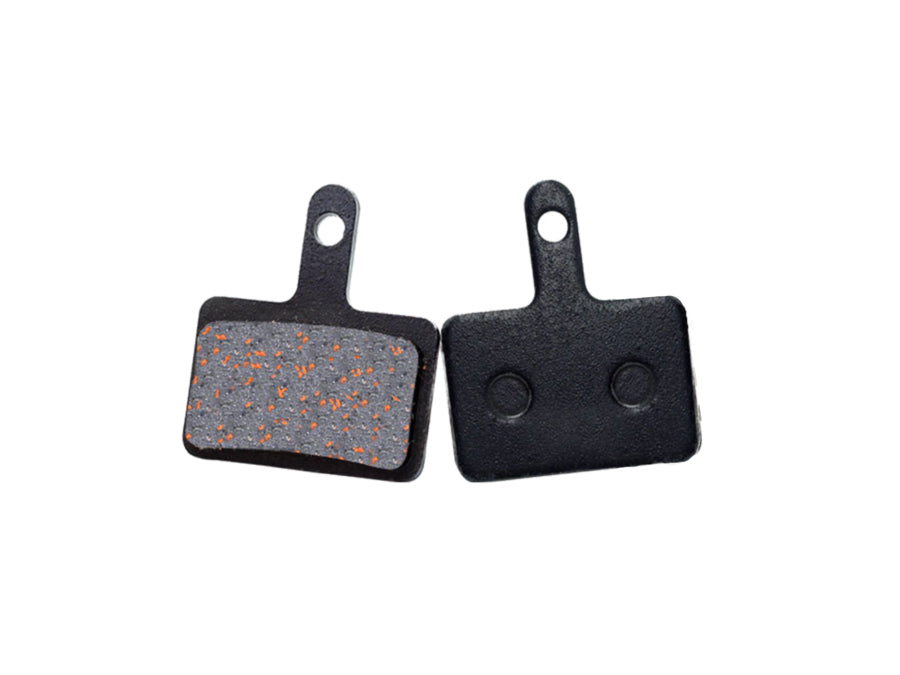
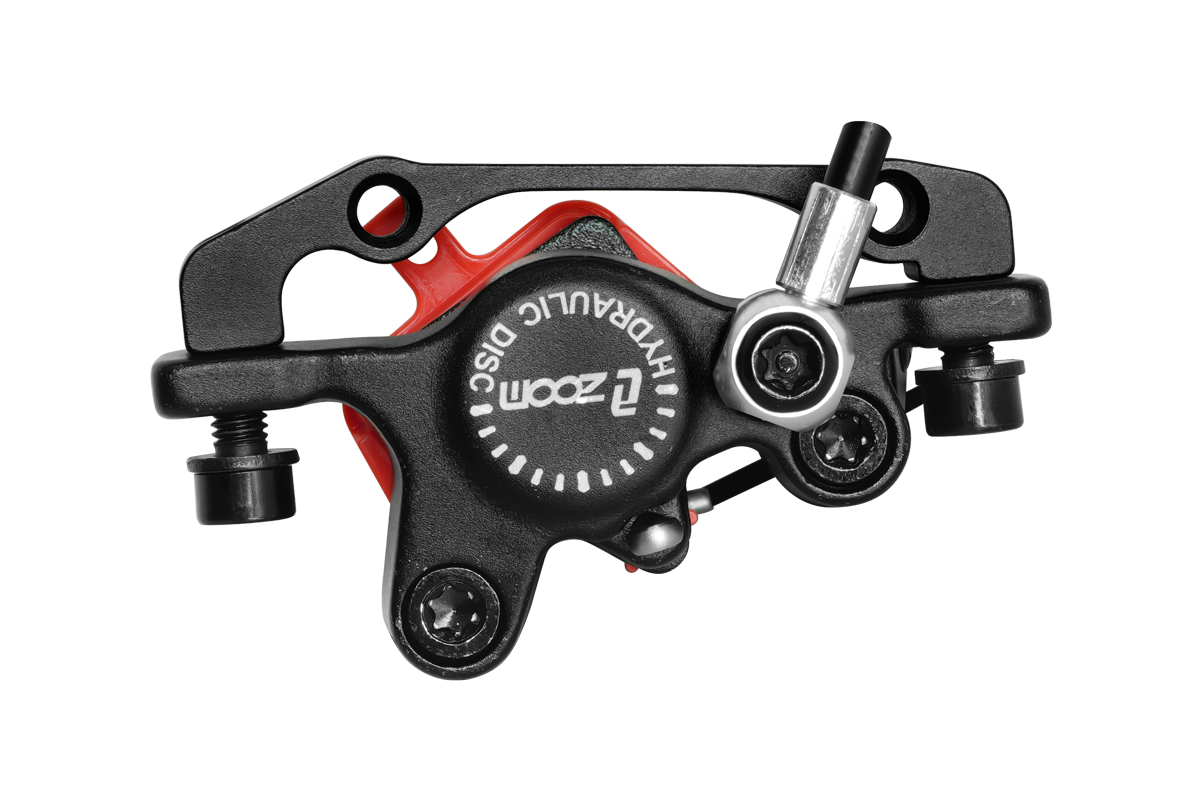
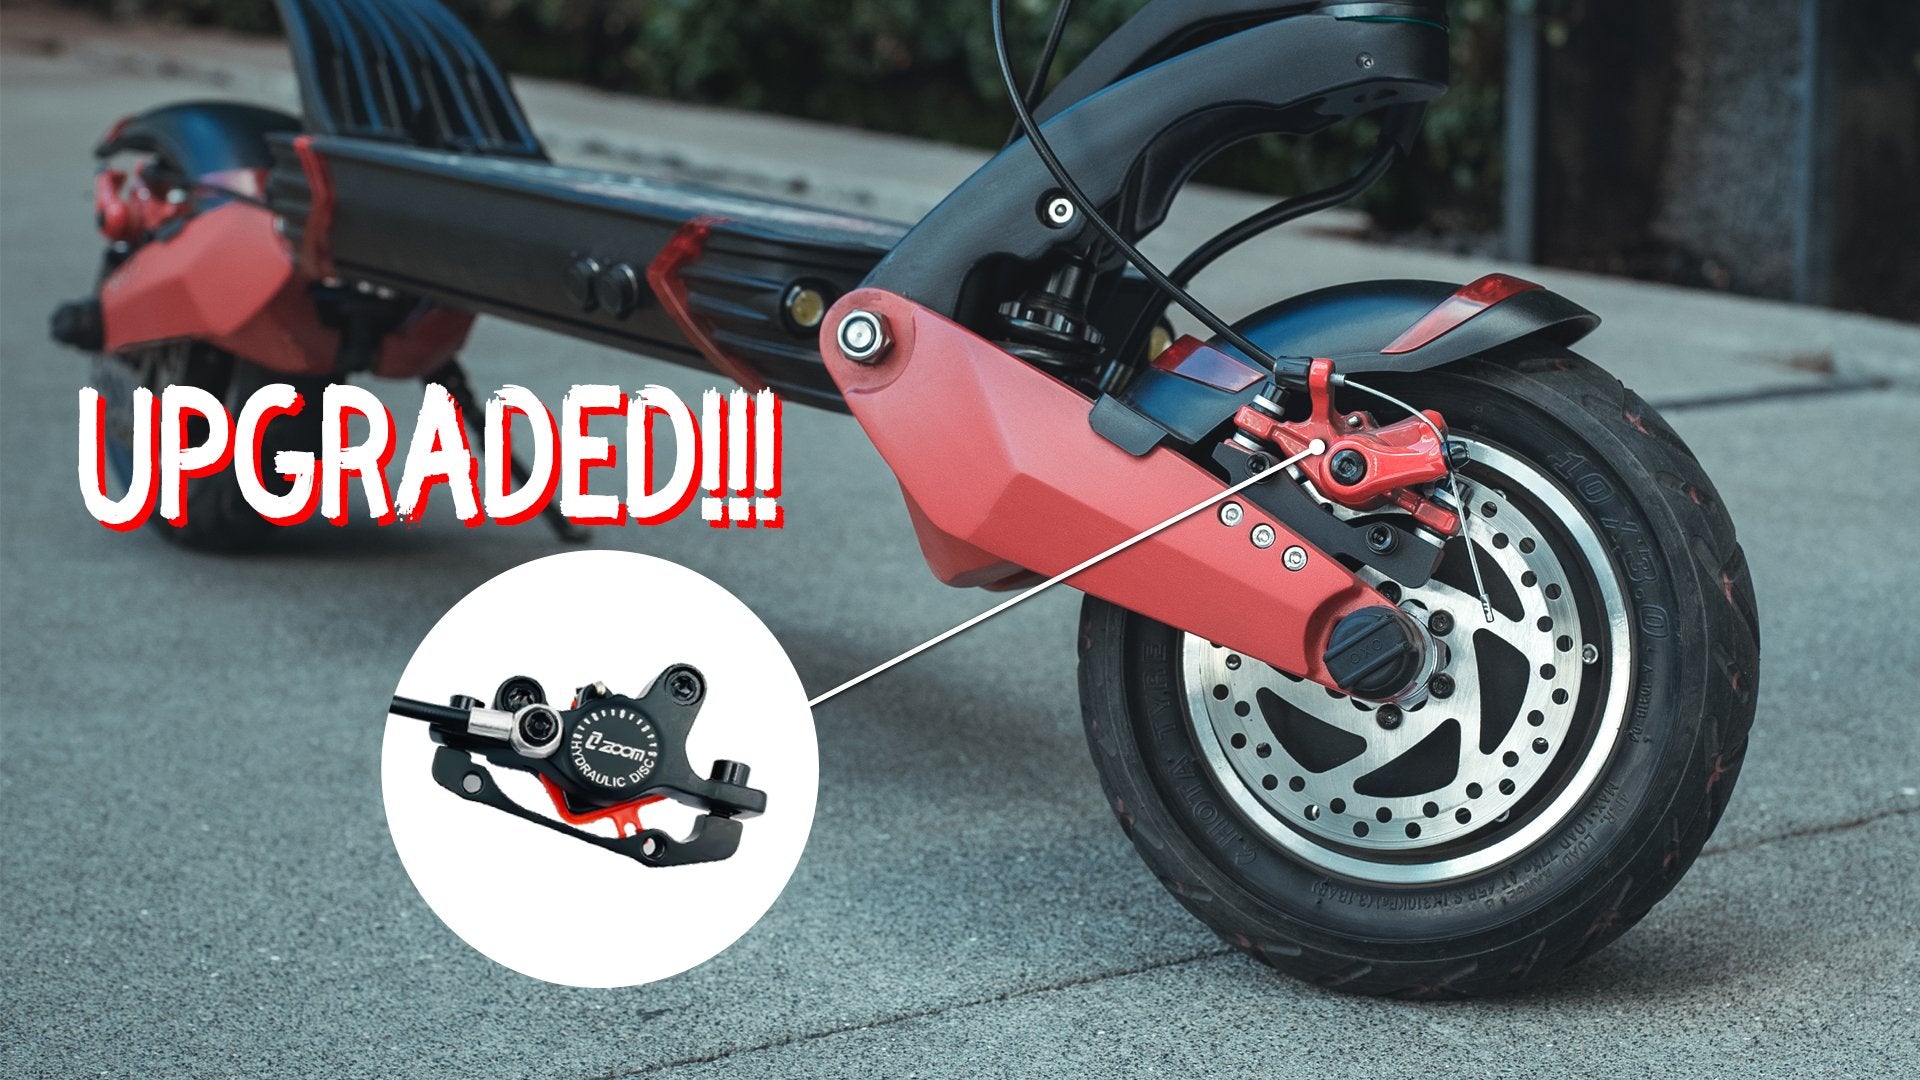
Generally, electric scooters with disc brakes provide the safest riding for the riders. The powerful braking ability makes the electric scooter can be easily stopped in both wet and dry conditions. In addition, the disc brakes are lightweight and friendly to maintain. You can easily find disc brakes on the high-performance electric scooters. For the disc brakes, it can be classified into two main kinds, cable brakes and hydraulic brakes. Each type has their own advantages, the cable brakes have a stronger performance in most conditions, but the hydraulic brakes are more friendly in terms of maintenance and usability. You can find more detailed information in "What's the Difference Between Disc Brakes and Drum Brake?".
This blog is mainly about the method of upgrading the brakes to hydraulic brakes. You can see them all in the video below, or read on if you’re more of a word person!
Before Installation:
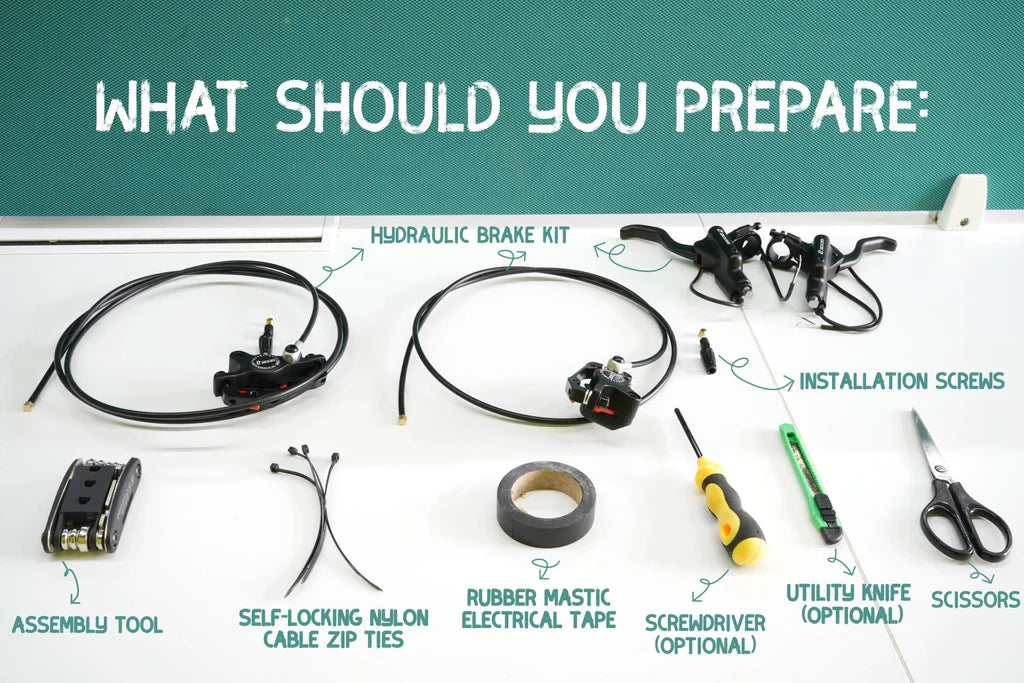
1. Items Needed:
Hydraulic Brake Kit
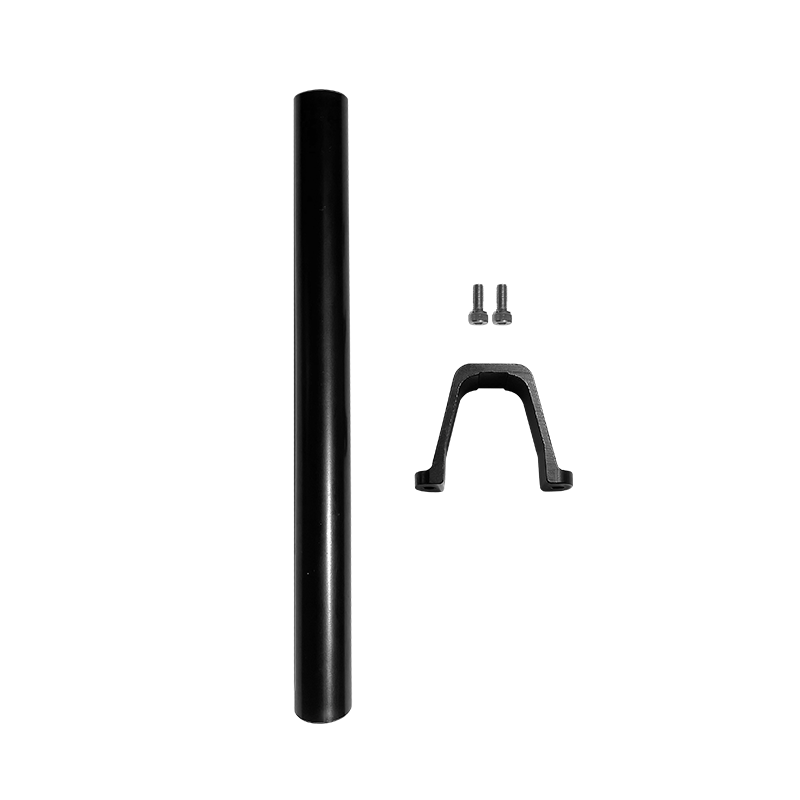
Installation Screws
Rubber Mastic Electrical Tape (for electrical insulating and moisture sealing applications)
Self-Locking Cable Zip Ties
Assembly Tool
Utility Knife (Optional)
Screwdriver (Optional)
Scissors
2. Turn off the Power to Ensure Safe Operation
Turning off the power and disconnecting the battery when changing to hydraulic brakes on an electric scooter is a vital safety measure. This procedure minimizes the risk of electrical shock, which can be potentially dangerous or even fatal. Furthermore, it prevents any accidental activation of the scooter during the modification process. An unexpected movement or activation could lead to personal injury or damage to the scooter components. It also helps to prevent any electrical short circuits or damage to the scooter's electronic systems, which could occur if the brake installation process interferes with the electrical wiring. Hence, ensuring the scooter is completely powered down before beginning such work is an essential step to ensure safe and effective operation.
3. Remove the Old Cable Brakes
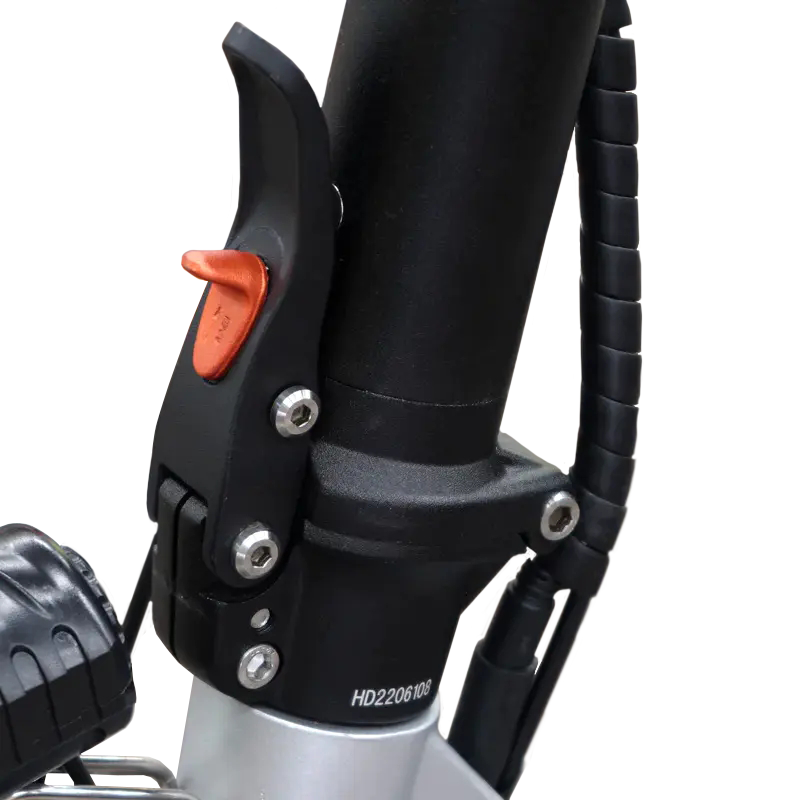
Use the assembly tool to loosen the screws on the handlebar, and then remove the handlebar and cover. Find the connection point between the brake levers and the brake cable, then cut it off.
Firstly, you need to cut off the zip ties, remove cable sleeving (Open Self-Roll Braided Cable Sleeving Auto Wire Harnessing-Sheath) that binds the cables, and the black gauze tape (Self-Adhesive Elastic Bandage Gauze Tape) on the inner layer. Pay attention to save the cable sleeving and gauze tape. (We consider that the possibility of the gauze tape losing its viscosity, the hydraulic brakes package also included an extra 30cm gauze tape.) Then, slowly pull out the two brake cables near the handlebars to find the connector.
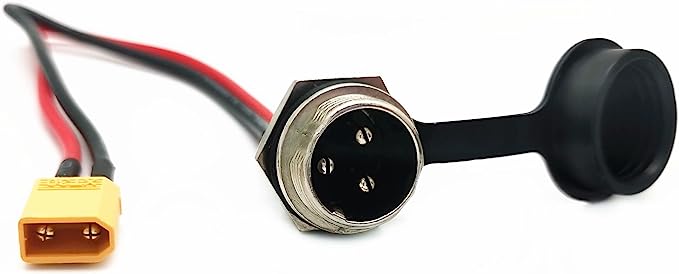
At this point, use scissors to cut off the outermost insulating sleeve slowly, and you will see the connector in the picture below. Then separate the three cables.
We recommend sticking this thread on the stem with tape to prevent the lower cable from slipping off.
4. Then Begin to Remove the Brake Calipers
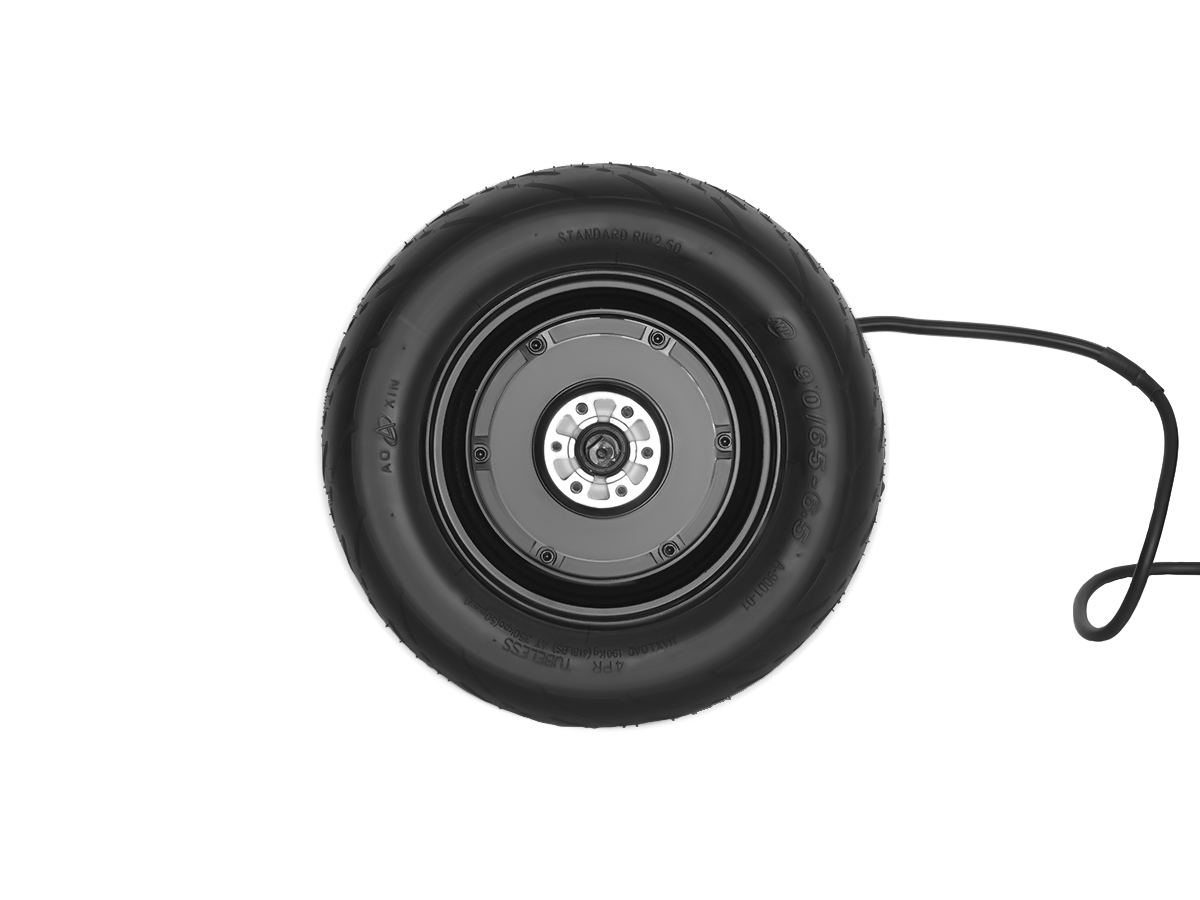
Take the brake of the rear wheel as an example:
Firstly, pull off the end cap of the brake cable. Then loosen the screw holding the brake cable and pull the cable out directly.
Then loosen the two screws fixing the brake block (be careful to save them), and take out the brake caliper. Then draw the cable from the side and the stem.
The same steps to the front brake.
*Don't throw away the brake cable, it may help you a lot later.
At this time, loosen the screw of the cable brake levers and take them out. At this point, we have already removed the cable brakes, and hydraulic brakes are about to be installed.
Install Hydraulic Brakes
1. Installing the Hydraulic Brake Levers
Begin by installing the hydraulic brake levers on the handlebar. Secure them in place by tightening the screws. Once done, you can proceed to install the handlebar grip. Remember to put on the cover first, attach them to the handlebar, and secure with screws.
2. Connecting the Brake Cables
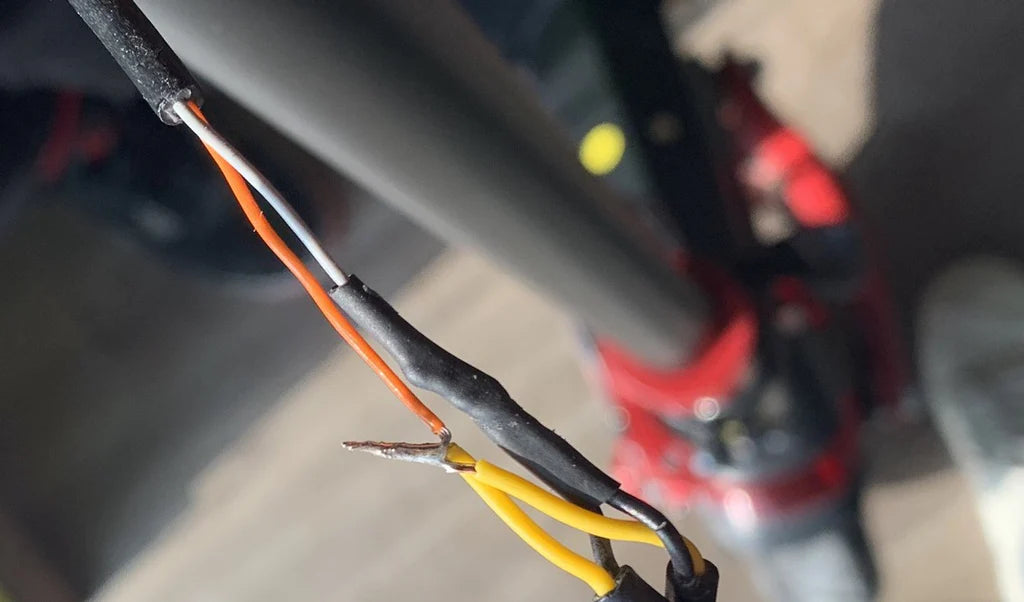
This is a critical step. Start by comparing the length of the new cables with the old brake levers. Trim the excess cable, leaving about 2-3cm. Then, carefully make a 1cm deep cut at the end of the cable. Upon removing the outer rubber sleeve, you'll find two small cables inside, one white and one black.
Connect the two black cables to the gray one and the two white ones to the orange one. Use insulating tape to tightly wind the two cables separately. Wrap both cables with another layer of insulating tape. Please note, it's crucial to use insulating tape and to ensure the correct color matching. Incorrect connections will render the brake system inoperable.
3. Adjusting the Brake Levers
Next, adjust the brake levers to your preference and tighten the screws.
4. Installing the Brake Calipers
Begin by identifying the brake lines. The longer line is for the rear brake, and the other is for the front brake. Ensure correct installation.
Let's take the rear wheel brake as an example. Start by loosening the dust-proof screw on the end of the line and thread it through the channel on the right side of the deck, from back to front. Then, follow the stem from bottom to top.
The process for the front brake line is similar, only needing to go through the stem.
Pro tip: To make threading through the stem easier, tape the old brake line to the new hydraulic brake line. Use the thinner brake cable as a guide to pass through the stem from bottom to top.
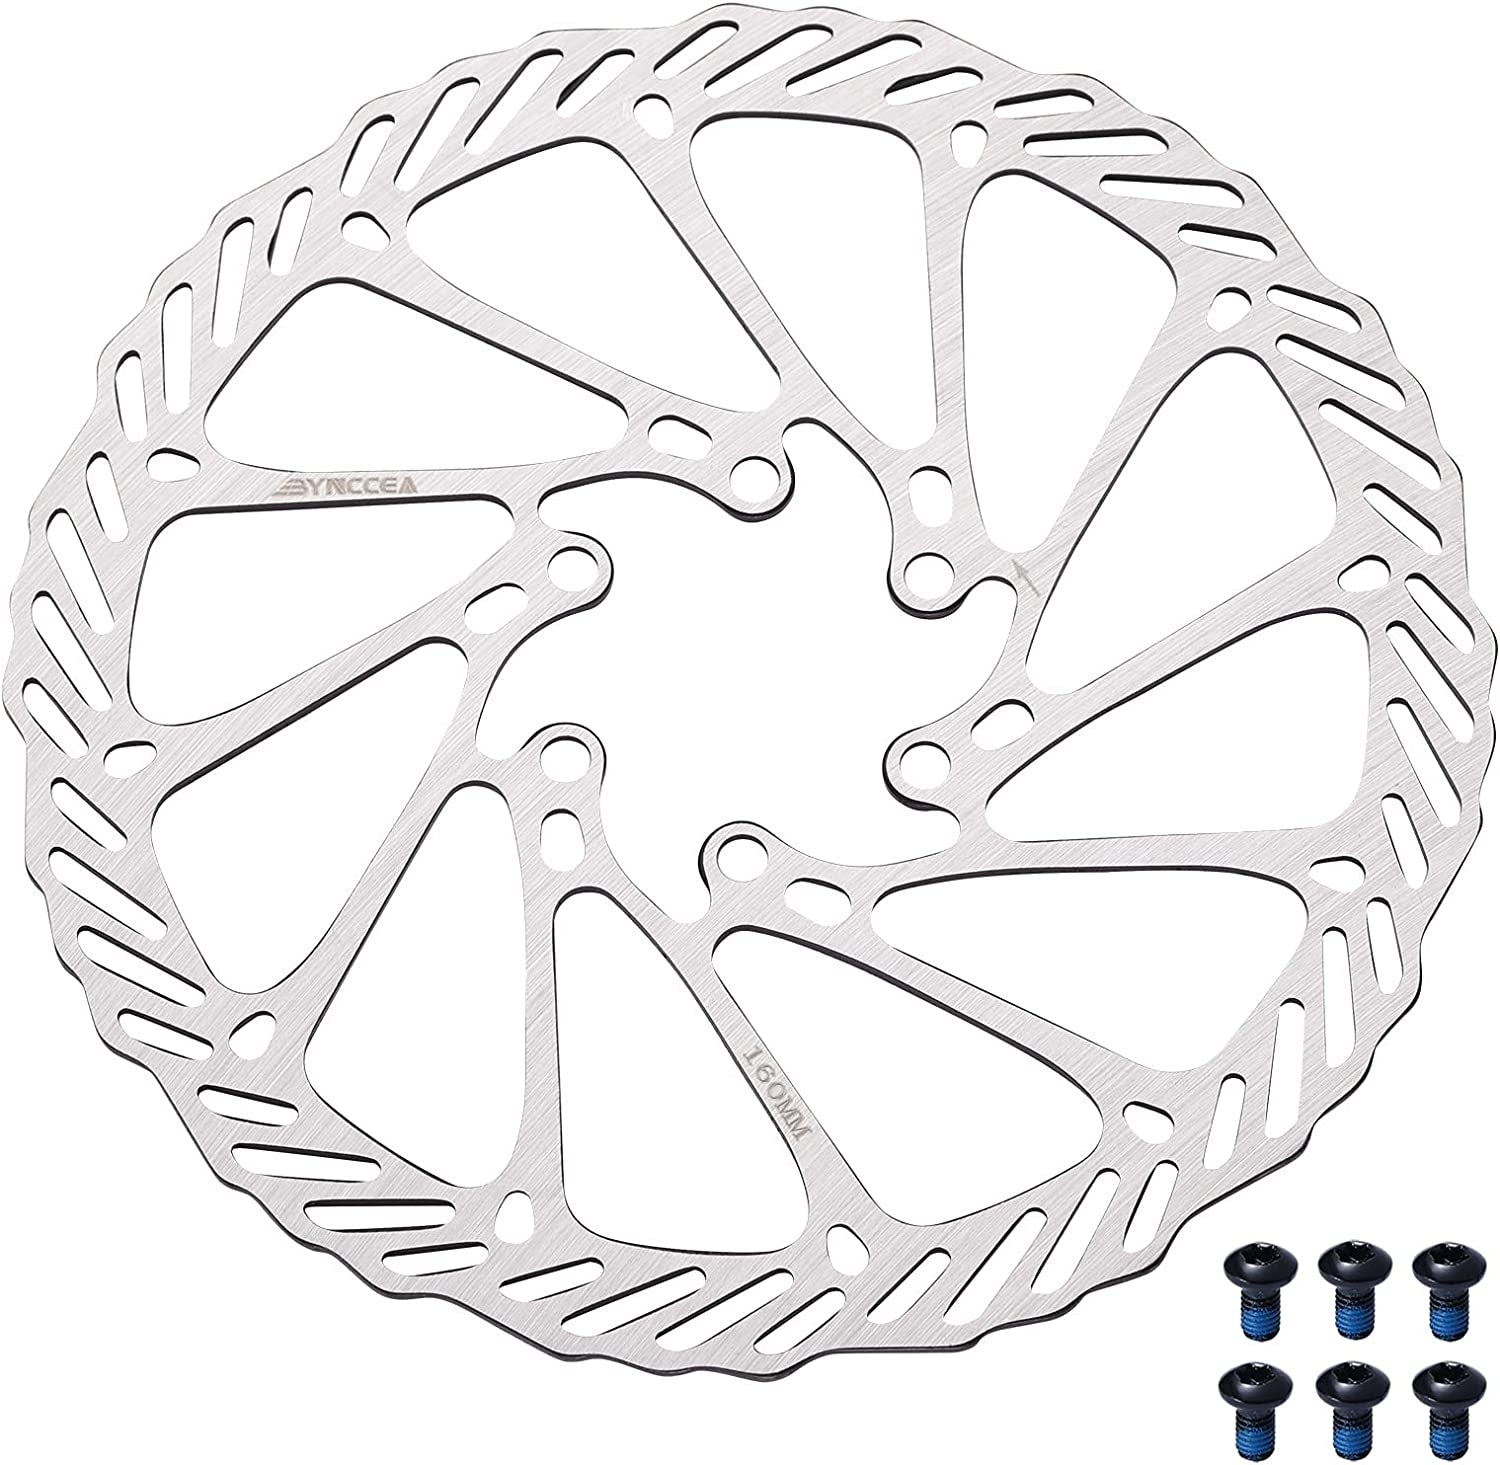
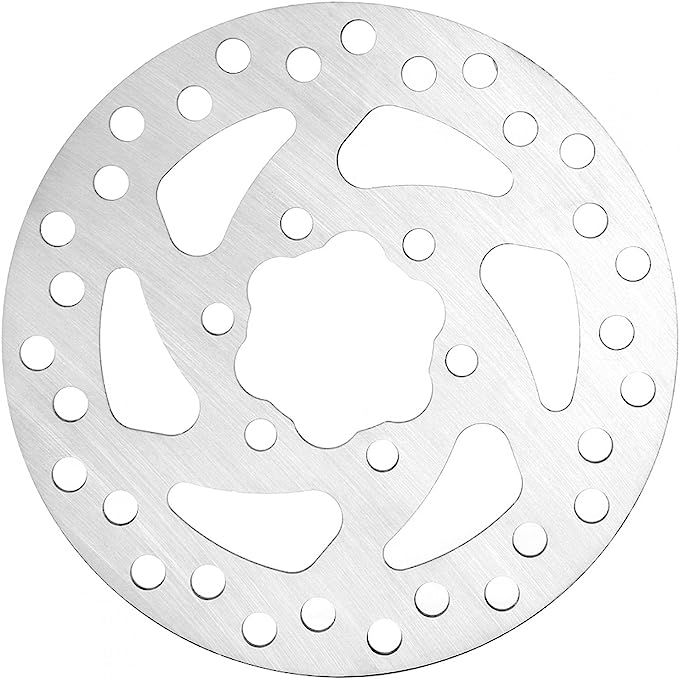
5. Installing the Caliper on the Rotor
Remove the orange protection pad and install the caliper on the rotor. Use the provided screws to secure the brake on the spring arm. Repeat the same operation for the rear brake.
6. Connecting the Brake Lines to the Brake Lever
The final step involves connecting the brake lines to the brake lever. Insert the three screws into the hydraulic line in descending order of size. Loosen the screws on the brake lever but be careful not to tighten the brake lever as it contains liquid. Leakage would render the hydraulic brake useless.
Connect the hydraulic brake line to the oil outlet and tighten the screw to ensure a good seal. Test the brake lever; if no liquid leaks, it means the screw is tightened properly. Finally, secure the protective covers.
7. Final Adjustment:
Put the cables exposed from the front of the handlebars into the stem first, and then install them back according to the removal steps. Wrap the cables one by one with gauze tape and cable sleeving, and finally re-tie them with a zip tie.
Adjust the brakes: adjust the two screws of the brake to ensure that the distance between the brake rotor and the two pads is the same. Then slightly lift the tire and rotate it, if there is no noise, which means it’s adjusted well.
Final word
Hydraulic brakes are less affected by adverse weather conditions. Whether you're riding in rain or shine, you can expect consistent braking performance. They are also more durable and long-lasting, often outliving the lifespan of the scooter itself.
Given these advantages, if you're still using mechanical brakes on your electric scooter, it might be time to consider making the switch to hydraulic brakes. Not only can this upgrade provide a safer and more controlled riding experience, but it can also reduce maintenance needs and increase the lifespan of your braking system. So, why wait? Enhance your electric scooter's performance and your safety by switching to hydraulic brakes today!
Newletter
Promotions, new products and sales. Directly to your inbox.


